
The Oil Painting Process ~ Applying the Paint
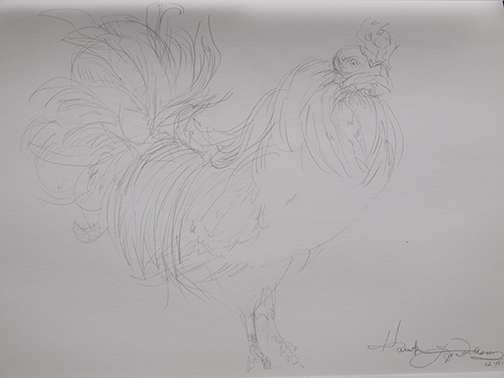
Applying the Paint ~ Grab your drawing pencils ~ The best way to get ready to paint is to know your subject well. Only after following this rooster 'Hawk' around the farm and
doing quick sketches and taking many photographs was I ready to begin. I work with the drawing in my sketchbook until I have the subject where I want him. I use many
different lead weights for my pencil sketches. I am now ready to position my subject matter on the blank canvas I have prepared.
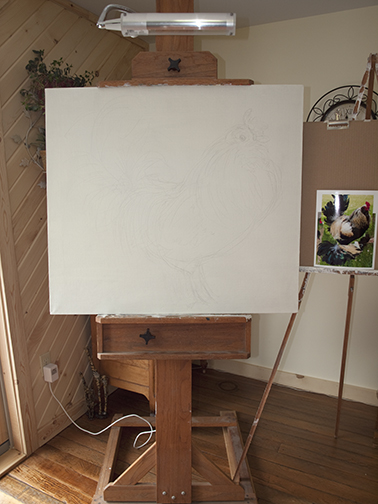
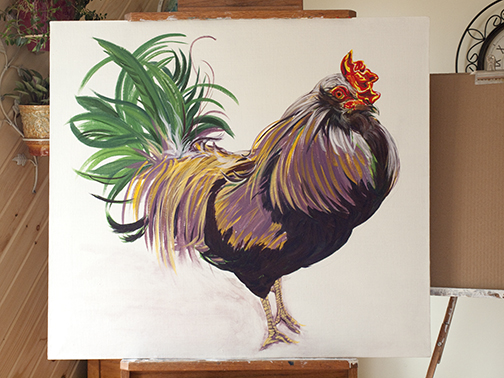
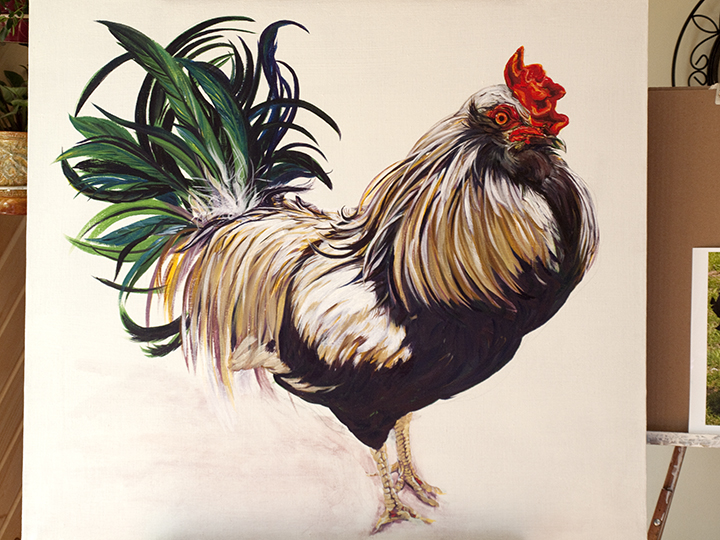
As you can see in the photo above my workspace is ready and I have my sketch on the canvas. I Pencil in lightly, so it does not distract me if I need to reposition or tweak it.
Fortunately, I have 4 different sources and colors of light, so I can work with or without consistent daylight.
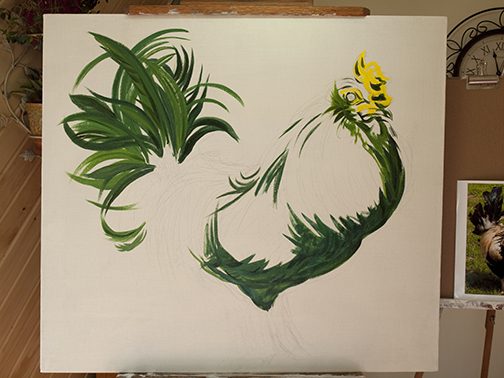
First I use my paint to re-establish positioning of the image, to make sure I have balance. Here I tried to paint contrasting colors as my foundation. I don't always do this, but I
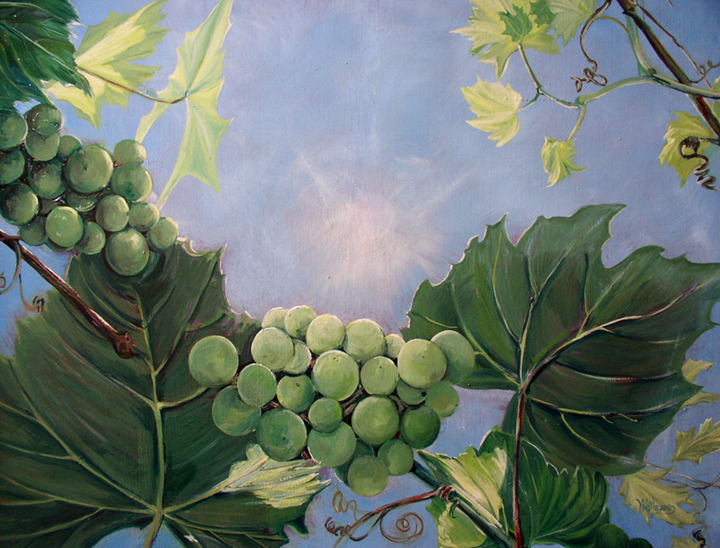
wanted the effect of 'Hawk' bouncing off the canvas. This was a common technique of the Masters. I've used it on one other piece, 'Fruit of the Spirit' and was very pleased
when the depth of my colors were superb and the image seemed to come forward off the canvas.
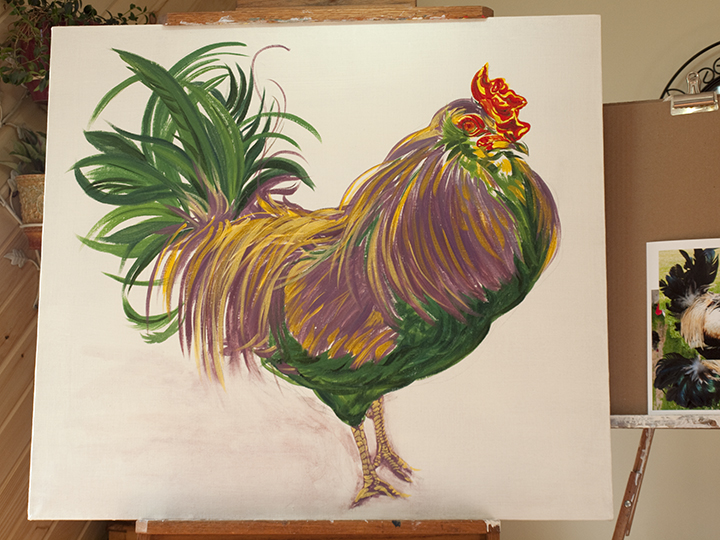
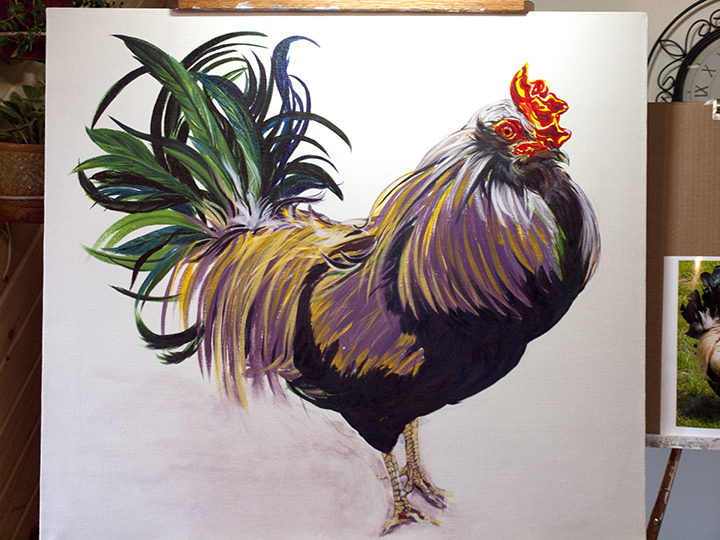
Filling in the image with my paints I consistently re-establish positioning of the image, You can see in the photos above that I have repositioned the legs. I wanted to stress:
The very important details of the rooster's stance and eye contact. The color and freshness of the feathers. and The liveliness of the windblown tail.
I progress in dimensional strength by painting my darkest and lightest areas. Always beginning each painting session working on the head area and moving into the body.
I do this so my paints have a chance to set in this area. When I begin the next morning I can work the head area without being concerned about smearing the paint.
Each painting session for this piece was about 4 hours.
At this time I start with the head in each session, so you can see this area developing quicker than the rest of the painting. Working with color in the tail was difficult.
I was trying to achieve both the colors I saw, and those I wanted to express. Colors will often show up in various situations, depending upon the intensity of light, and the colors
in the surrounding environment. The subject also reflects its own color upon the background. I am always amazed with the glory of colors God has made.
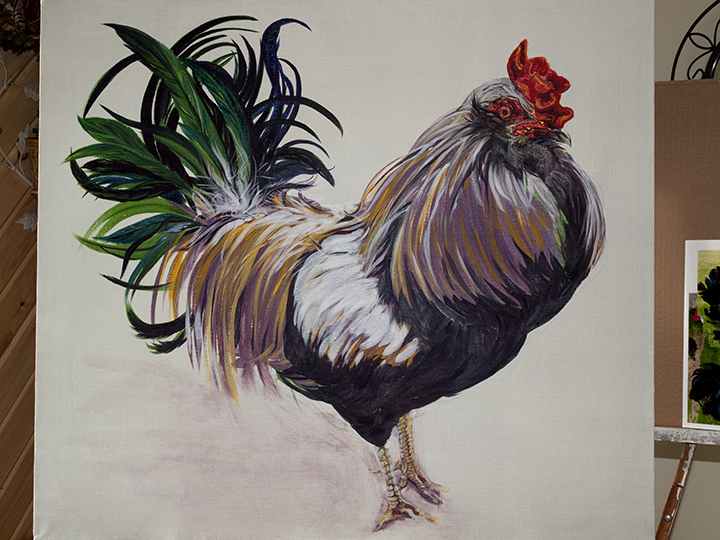
Here I am establishing more shadow and light areas, striving to keep the freshness and character of the image. If you notice, I keep strengthening the legs and feet.
The rooster is an impressive figure at this size and needs stability and strength of the legs. I am working from several photos that bring out the best of each area and have to be
careful my image is not distorted visually. When I am checking for distortion, I use a mirror to view my painting. It is amazing how an imbalanced composition will show when
viewed in this way. I am also constantly stepping back and thoughtfully examining each area to address. Notice in the photo above, even in extremely dark areas I have
created feather patterns and colors.
To achieve excellence in my painting, I always try to keep the motion of the paint brush consistent with the form of the subject matter even in extremely light and dark areas,
and in areas that I know will be completely painted over. I am constantly building the form as I paint layer upon layer. The best brushes for my technique are Winsor & Newton
series 7 pure Kolinsky Finest Sable. They are expensive, but well worth the cost. I can lay a large area of paint down with complete control, spinning and lifting off the brush for
a very direct and fine finish. These brushes will last for years if properly cared for.
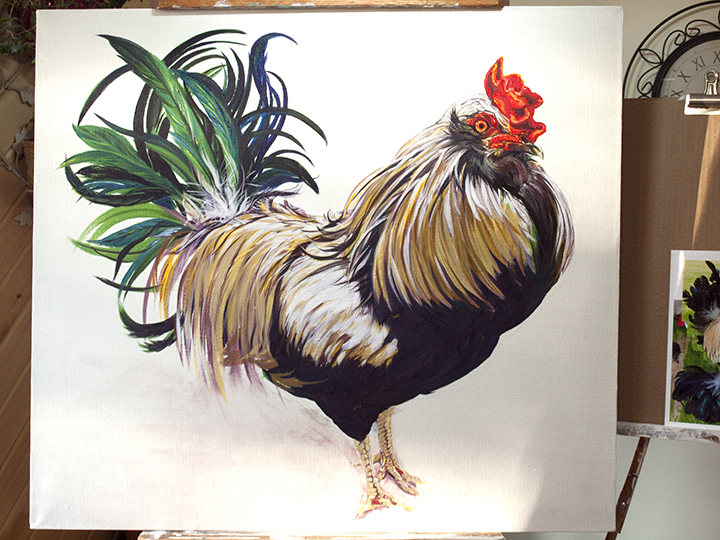
You can observe the head area and especially my work around the eye developed quite well. The shadow area within the neck is showing the texture and depth of soft feathers.
In the area of the lower neck I am striving to achieve that 'on-the-alert look' that Hawk always had. The head is slightly twisted and tilted. I noticed through observation
that the red area in the head responds to the rooster's feeling threatened. It enlarges and retracts with the intensity of the threat.
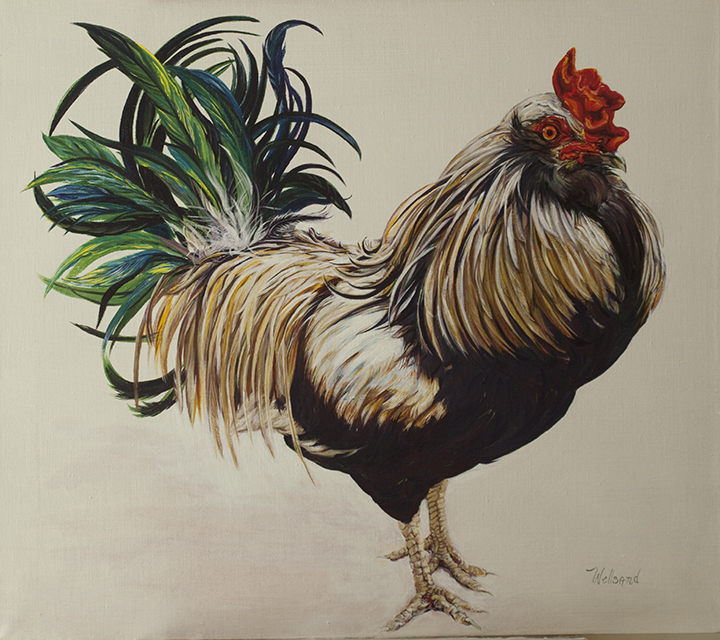
I had a dilemma with the background and feet. I felt that the image could stand on its own, and did not have good reason to put a background in. So I eventually chose to finish
the feet to a vignette and forgo a strong background. Here, 41 hours later is the finished piece. The painting will now dry in 4 to 6 months, depending upon the thickness of the
paint layers. Once dry, the damar varnish will be applied using a brush rinsed in turpentine. I mix my varnish with Dorland's Wax Medium to keep the surface from becoming too
shiny. The varnished oil painting should be cared for with an even temperature and very rare dusting, being careful not to rub and cause a sheen. This type of painting with
proper care should last as long as the great masters' works of the Renaissance Period.
Click Here to Subscribe to Updates of my Work!
Whatever you do, do all to the glory of God
